
Tutorial: Additional Features in Push campaign
Advanced Targeting
New Subscribers only: allows targeting only for users that subscribe on push notifications during the last 7 days.
- Clicks on New Subscribers only button.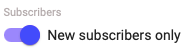
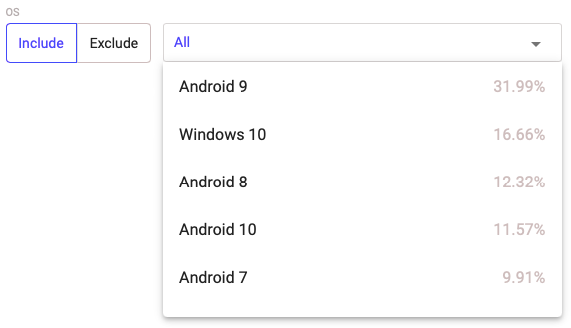
OS: Helps to target on or exclude from a campaign a specific OS
- Click on the Include button if you want to choose the OS. And click on the Exclude button if you want to add it in black list.
- Choose the necessary OS from the list.
Browser: Helps to target on or exclude from a campaign a specific Browser
- Click on the Include button if you want to choose the Browser. And click on the Exclude button if you want to add it in black list.
- Choose the necessary Browser from the list.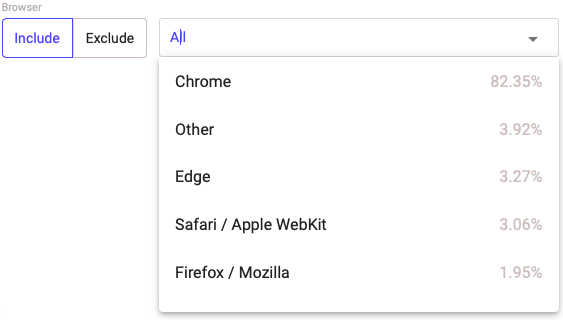
Browser language: Helps to target on or exclude from a campaign a specific browser language.
- Click on the Include button if you want to choose the browser language. And click on the Exclude button if you want to add it in black list.
- Choose the necessary Browser language from the list.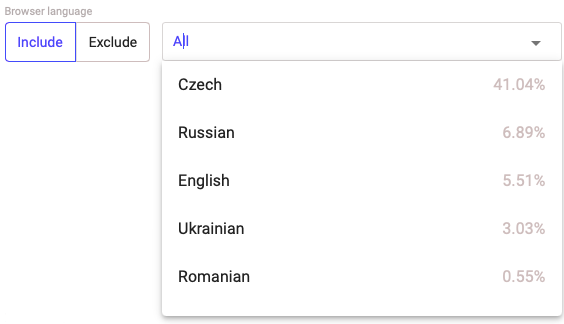
Connection type: Helps to target on or exclude from a campaign a specific connection type.
- Click on the Include button if you want to choose the connection type. And click on the Exclude button if you want to add it in black list.
- Choose the necessary Connection type from the list.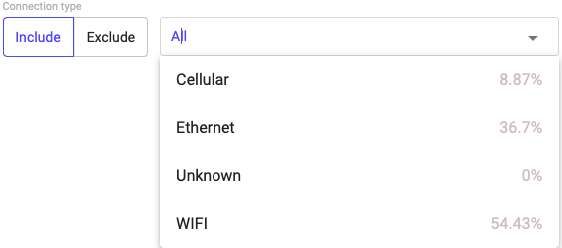
Carrier targeting: Helps to target on or exclude from a campaign a specific carrier.
- Click on the Include button if you want to choose the carrier. And click on the Exclude button if you want to add it in black list.
- Choose the necessary Carrier from the list.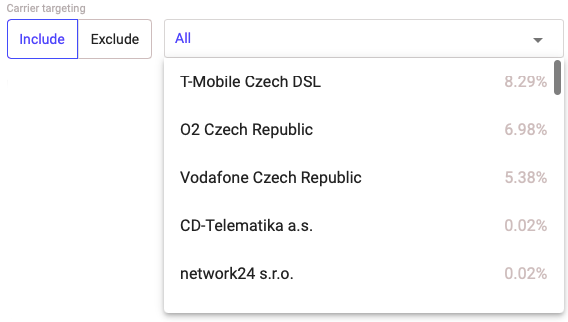
ISP: Helps to target on or exclude from a campaign a specific Internet service provider.
- Click on the Include button if you want to choose the ISP. And click on the Exclude button if you want to add it in black list.
- Choose the necessary IPS from the list
Manufacturer: Helps to target on or exclude from a campaign a specific device manufacturer.
- Click on the Include button if you want to choose the manufacturer. And click on the Exclude button if you want to add it in black list.
- Choose the necessary manufacturer from the list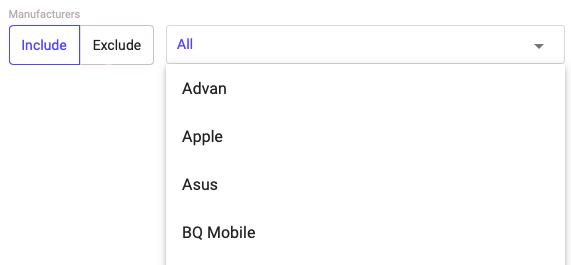
Model: Helps to target on or exclude from a campaign a specific device model.
- Click on the Include button if you want to choose the device model. And click on the Exclude button if you want to add it in black list.
- Choose the necessary model from the list.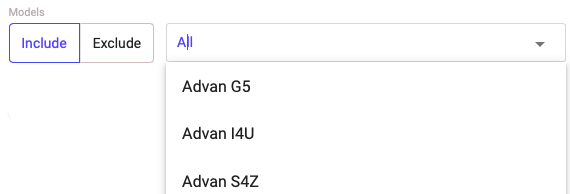
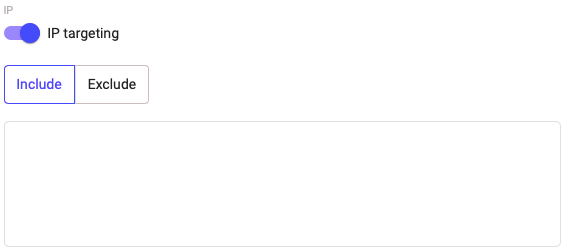
IP: Helps to make white/black list of IP addresses.
- Click on IP targeting button.
- Click on the Include button if you want to choose the white list. And click on the Exclude button if you want to choose the black list.
- Type the necessary IP addresses: every IP address should be started from a new line.
11. Webview allowed: Helps to turn on/off webview notifications.
- Click on Webview allowed button.
Sources
Lists: allows to choose a group of sources, where your ads will be shown. All groups are merged based on publisher quality
To choose all premium group sources: Check the box next to the required group or open the group and check the box next to the required sources.
To choose particular sources: click on the button Input values manually and type the necessary sources.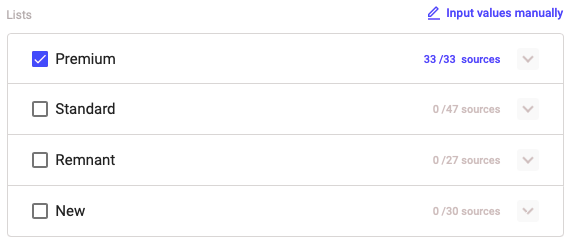
You can input a list of sources manually: Click on the Input values manually button and enter the necessary sources. Click on the Apply button.
New Premium lists: Helps to turn on new premium lists as soon as they appear on the platform.
- Click on button Turn on new premium lists automatically
Black/White List: Helps to create black/white lists of publishers or sites.
- Click on White or Black button.
- Enter the necessary sources of publishers or sites.
Micro bidding: Helps to increase/decrease bids by certain parameters.
- Enter the parameter, then its name on the platform and operation with the bid.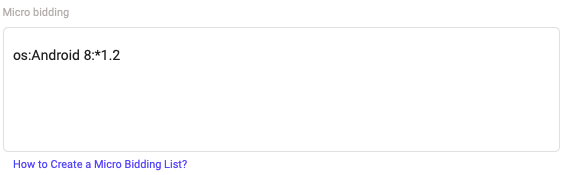
Schedule
Campaign time: Helps to set up time at which the ad will be shown.
- Click on the Local Time or UTC button.
Start time: Helps to set up the start and end date of the campaign.
- Click on the Now or Set a range date button.
- By choosing Set a range date, select the start and end date and time for the campaign.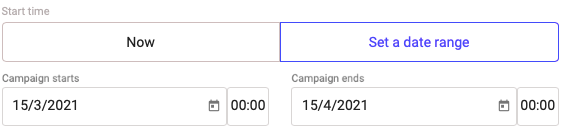
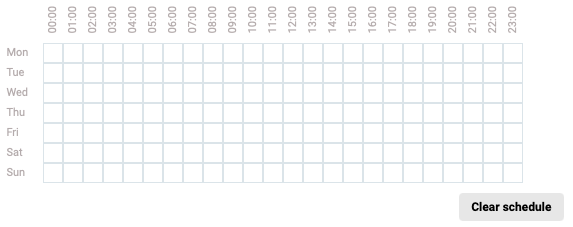
Schedule: Helps to set up the days and hours of the week when the ad will be shown to users.
- Check the box days and hours when ads should be shown.
Automated Rules
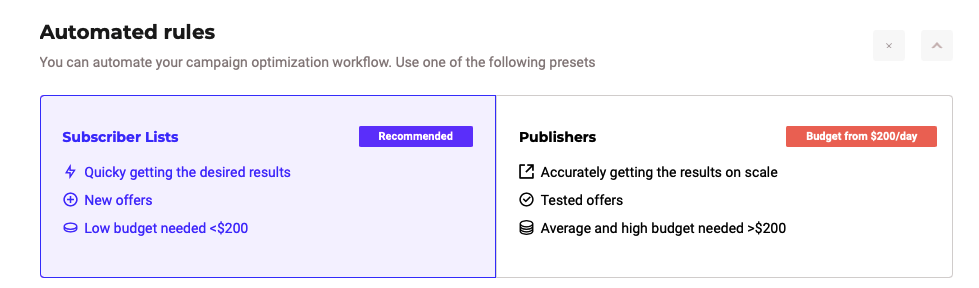
- Automated rules: Help to create white/black lists automatically or increase/decrease bid based on certain parameters.
1.1. We have 2 types of automated rules presets:
- Subscribers List.
- Publishers.
1.2. There are 2 presets to blacklist sources
- Blacklist expensive sources.
- Blacklist non-converting sources.

1.3. To add rule you need to click on the presets and set up the necessary parameters.
Or you can add custom rule:
- Choose the parameter to which apply the rule: Publisher, Subscribers Lists, Site,
Creative, Campaign, Device, Browser, OS.
- Choose the action: White/Black list, Increase/Decrease bid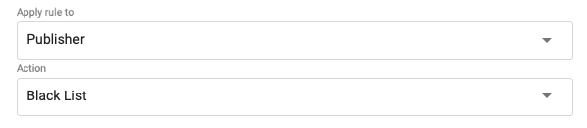
- Set up conditions for the rule. It’s obligatory to use two conditions so that the rule works correctly.
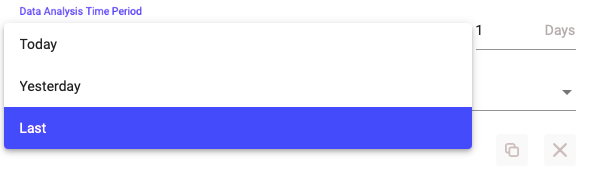
- Choose Data analysis time period.
- Choose frequency of checking the campaign according to conditions.

NB! We recommend at least two rules: one for blacklisting expensive sources, and one for blacklisting non-converting sources.